Do you try different yoga poses, but feel as if your body doesn’t successfully get into the shape? If it is so, you need to bring in some modifications to your poses and improve yourself to fit into the pose.
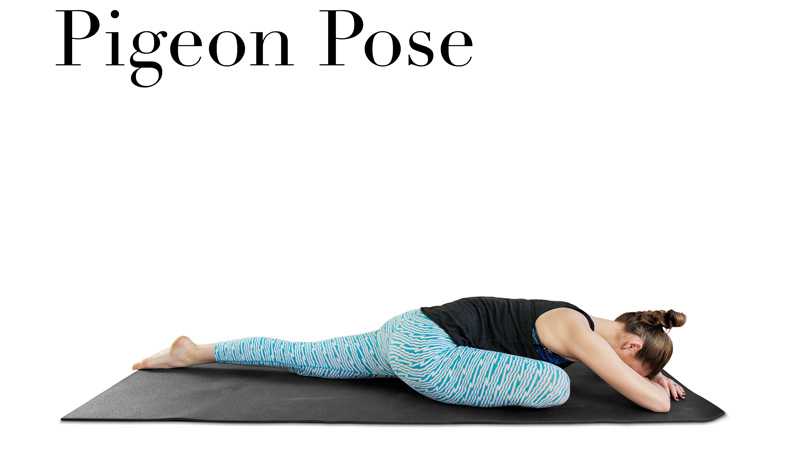
Pigeon pose is an excellent hip opener practice that you should feel good about. But, if you feel awkward about it, you can feel the magic with some modifications. You can try a passive variation of this One-Legged King Pigeon Pose that is also known as Eka Pada Rajakapotasana or simply Pigeon Pose. This may seem like a complicated pose to exercise, which is why some people find it difficult to execute it properly.

It is awkward, totally asymmetrical and tends to feel unnatural. However, there is always a way to bring an easing in the posture. The comfort lies in bringing some modifications, to make it happen seamlessly.
Recommended Advanced Yoga Posts
Here are three ideas to help you get going with the Pigeon Pose:
Idea one: the Z slit

Technically, you may not call it the pigeon pose, but it is an excellent solution for practitioners who feel extremely uncomfortable and restricted in this pose. If you find your feet suspended a foot up the floor when trying the standard version, or feel pain in the areas where it should not be, then this is the right variation to try.
Sit comfortably while bringing your left knee as near to 90 degrees as you can. Try to get the external rotation as your body permits. If you can’t move your foot more than an inch toward the groin then also it’s OK. For the complete pose, you have to extend your right leg straight backwards. Herein, you are required to open your right leg to 90 degrees backward. This pose would lead to hip opening, but without any unbalanced act or putting pressure in the left knee.
When in this pose, you can stay erect or try to lean forward. You can press the hip of the leg behind to forward to stretch its front and externally rotate the front hip. As you feel more comfortable maintaining this pose, you can shift focus to work on squaring the hips forward while straightening the back leg.
Idea two: Use a prop

You need this variation amid the Z slit and the full pigeon pose. Well, whenever you find this pose is not meant for you, go on to try this modification. If you feel your hips are not ready enough to lie on the floor with comfort, it is better if you put some efforts to raise the floor up using a blanket, pillow or bolster or any such prop. When using this prop, you should make sure that your leg from hip to knee is well supported to avoid unnecessary pressure from your joints.
Take your back foot or left foot into the floor while keeping toes facing downwards and square your hips. This modification allows you to relax into this pose and earn all the perks without having to make a balance with your hands and hold your body up from the ground. Keep the front leg folded and supported with a pillow or prop.
Idea three: Use a strap

As you place your front leg on a pillow or a suitable prop, you will feel comfortable and confident maintaining this pose. Also, you may feel like trying the next modification. You can definitely do so.
Keep your hip and front knee supported without arching your back, but of course you can bring some flair in this pose by using a strap around your back foot to create a light bind. This is to stimulate the hip flexors and quads without actually negotiating the configuration of the other body parts involved in the pose.
Images Source – YJ
[embedyt] https://www.youtube.com/watch?v=2PbsRlvcyMI[/embedyt]